


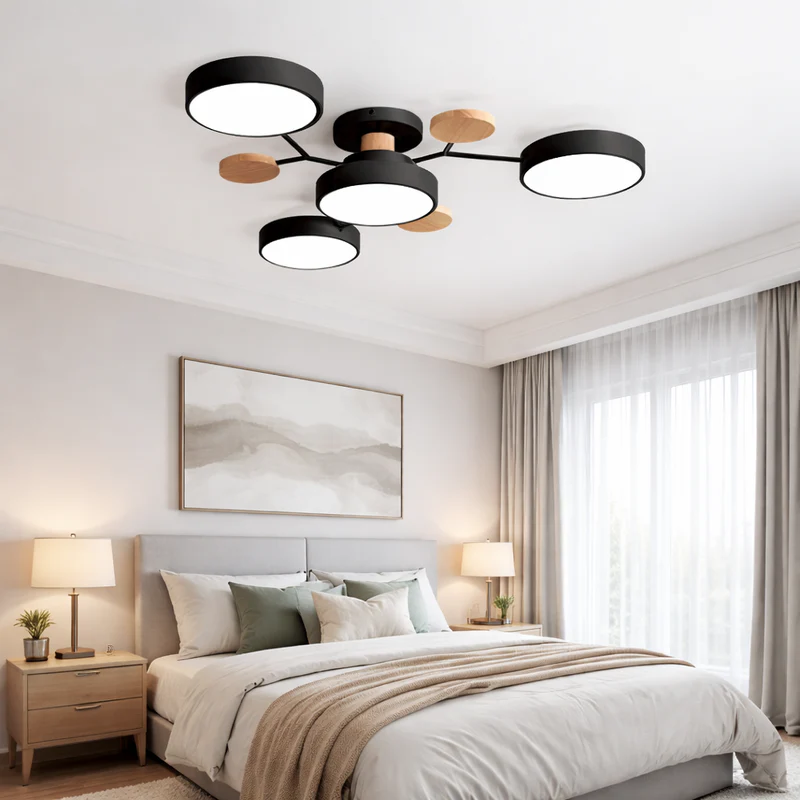
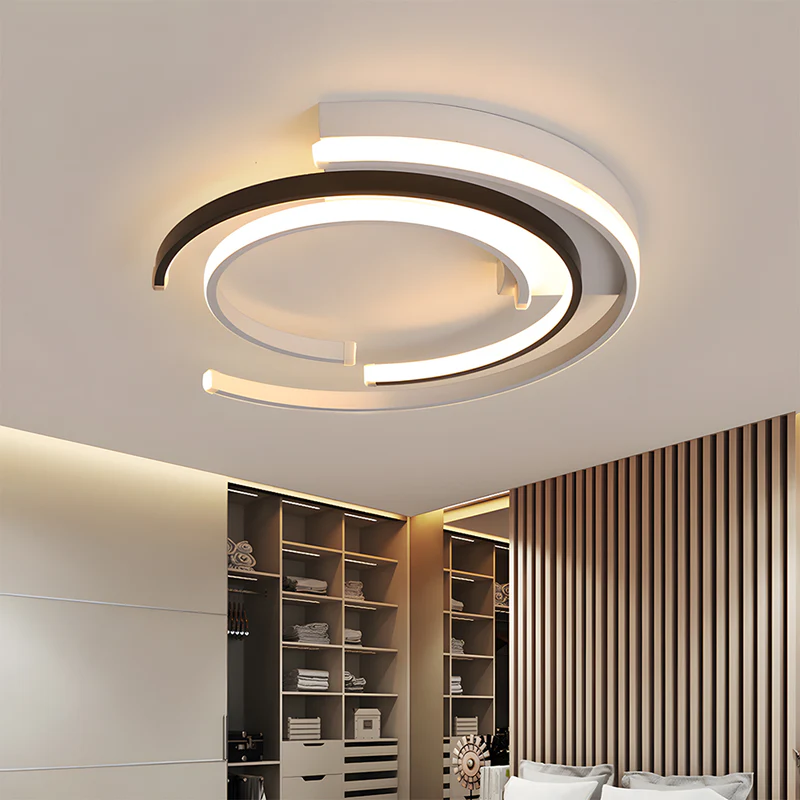


Upgrading or replacing a ceiling light can instantly refresh a room's ambience. Whether you're installing modern led ceiling lights or simply replacing older fixtures, this guide will guide you through the process safely and efficiently.
The most important: Ensure the Power is Off
Before handling any electrical components, your top priority should be safety:
-
Turn off the power at the main circuit breaker.
-
Use a voltage tester to confirm no electricity flows to the fixture.
-
Wear insulated gloves and use appropriate tools to avoid electric shock.
Pro tip: Place a note on the breaker box to prevent someone else from accidentally turning the power back on.
What does it take to replace a ceiling light?
Gather these tools and materials beforehand:
-
New ceiling light fixture (ensure compatibility with your room’s size and wiring)
-
Screwdriver (Phillips or flathead, depending on your fixture)
-
Wire strippers (if rewiring is needed)
-
Voltage tester
-
Ladder (stable and tall enough for safe access)
-
Wire nuts (for securing connections)
-
Electrical tape (optional, for extra insulation)
How to Replace a Ceiling lights in 7 Simple Steps
Step 1: Remove the Old Ceiling Light fittings
-
Unscrew the mounting plate or canopy covering the wires.
-
Carefully disconnect the wires (note their positions: black/red = live, white = neutral, green/bare = ground).
Step 2: Prepare the New one
-
Assemble the new light according to the instruction.


Step 3: Connect the Wires
-
Match the wires: black to black (live), white to white (neutral), and ground to ground (green/bare copper).
-
Secure with wire nuts and wrap with electrical tape for added safety.
Step 4: Mount the Fixture
-
Attach the fixture’s base to the ceiling junction box using screws.
-
Ensure all wires are tucked neatly inside the box.
Step 5: Install Light Bulbs
-
Use bulbs with the correct wattage (check the fixture’s label).
-
For LED fixtures, ensure compatibility with dimmers if applicable.
Step 6: Attach Covers/Shades
-
Secure any decorative covers, shades, or globes.
Step 7: Restore Power & Test
-
Turn the power back on and test the light.
-
If it doesn’t work, recheck connections or consult an electrician.
Frequently Asked Questions When Replacing Ceiling Lights
-
Fixture Doesn’t Turn On:
-
Check wire connections and circuit breaker.
-
Ensure bulbs are properly installed.
-
-
Flickering Lights:
-
Loose wiring or incompatible dimmer switches may be the cause.
-
-
Fixture Hangs Crooked:
-
Adjust the mounting bracket or tighten screws.
-
-
Wires Are Too Short:
-
Use wire extenders (never splice wires without proper insulation).
-
When to Call an Electrician
-
If the junction box is damaged.
-
If you’re unsure about wiring (especially in older homes).
Final Tip: Take photos of the original wiring before disconnecting to simplify reinstallation. With the right tools and patience, changing a ceiling light is a DIY-friendly task!
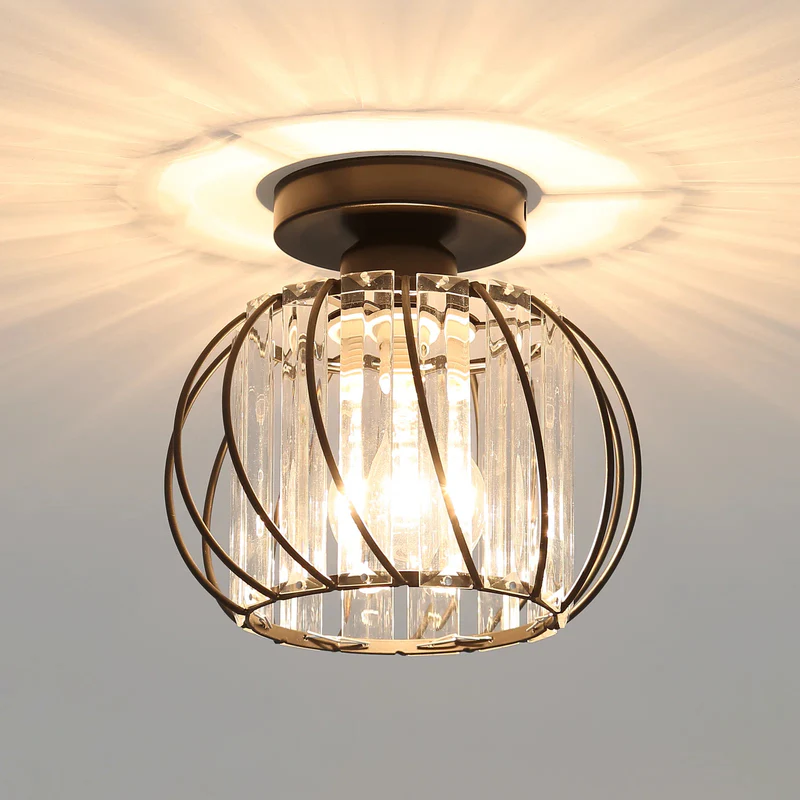
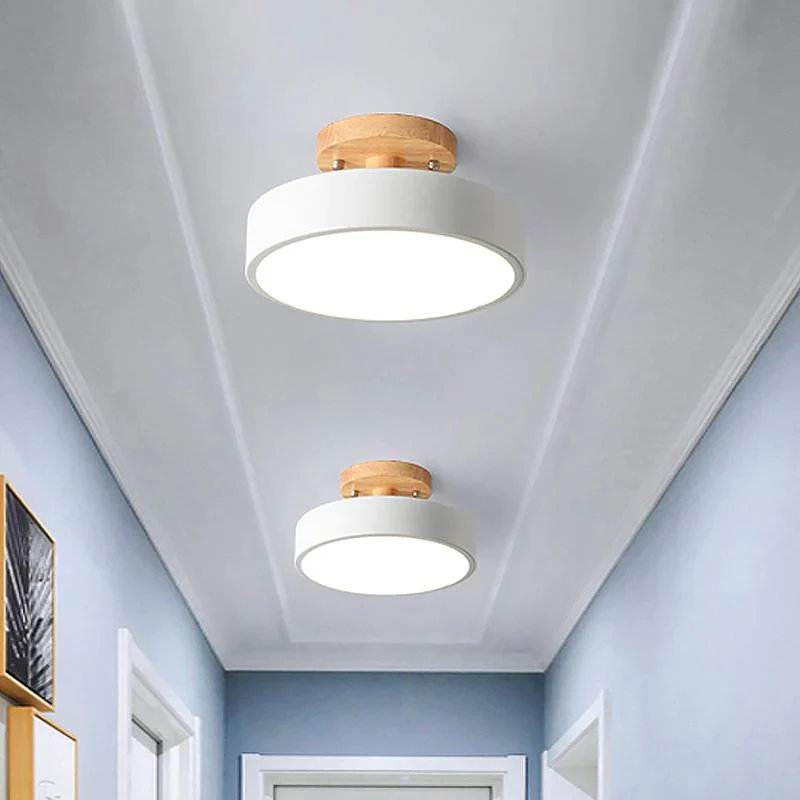
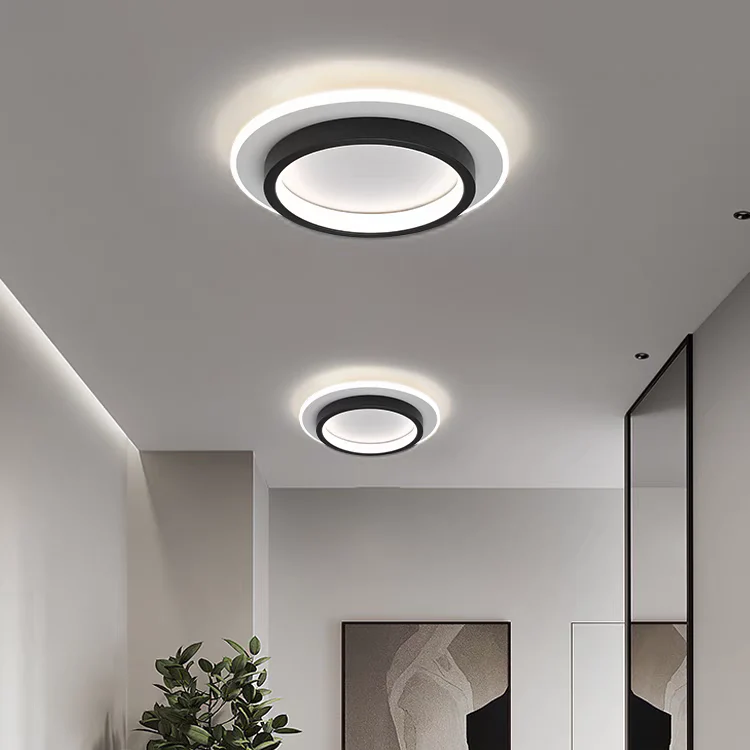
For stylish, easy-to-install ceiling lights, explore Lampsmodern’s collection of modern ceiling light fixture designs.